
 MOCKO


Product Photos for Your Online Shop Without a Photo Shoot
Which photos every product listing needs and how small sellers can make them from mockups, without samples, studios or a photographer.

On this page
If you sell printed products online, every new design needs photos. Ordering samples, setting up lights and editing the shots takes days and costs money, often before you even know whether a design will sell. Mockups let you skip that step: you get clean, realistic product photos from your design file, and you can list a product the same day you finish it.
This guide is for small sellers on marketplaces and their own stores, whether you run a Shopify shop, sell through a handmade marketplace or use print on demand. It covers which photos you need, how to make them from mockups, and how to keep them honest and consistent.
Why mockups work for product photos
- No samples needed. Show a design on a tee, tote or box before it exists, then order stock only for what sells.
- Same day listings. Go from finished design to finished listing in one evening.
- Consistent look. The same scenes and lighting across your whole shop make it look professional and trustworthy.
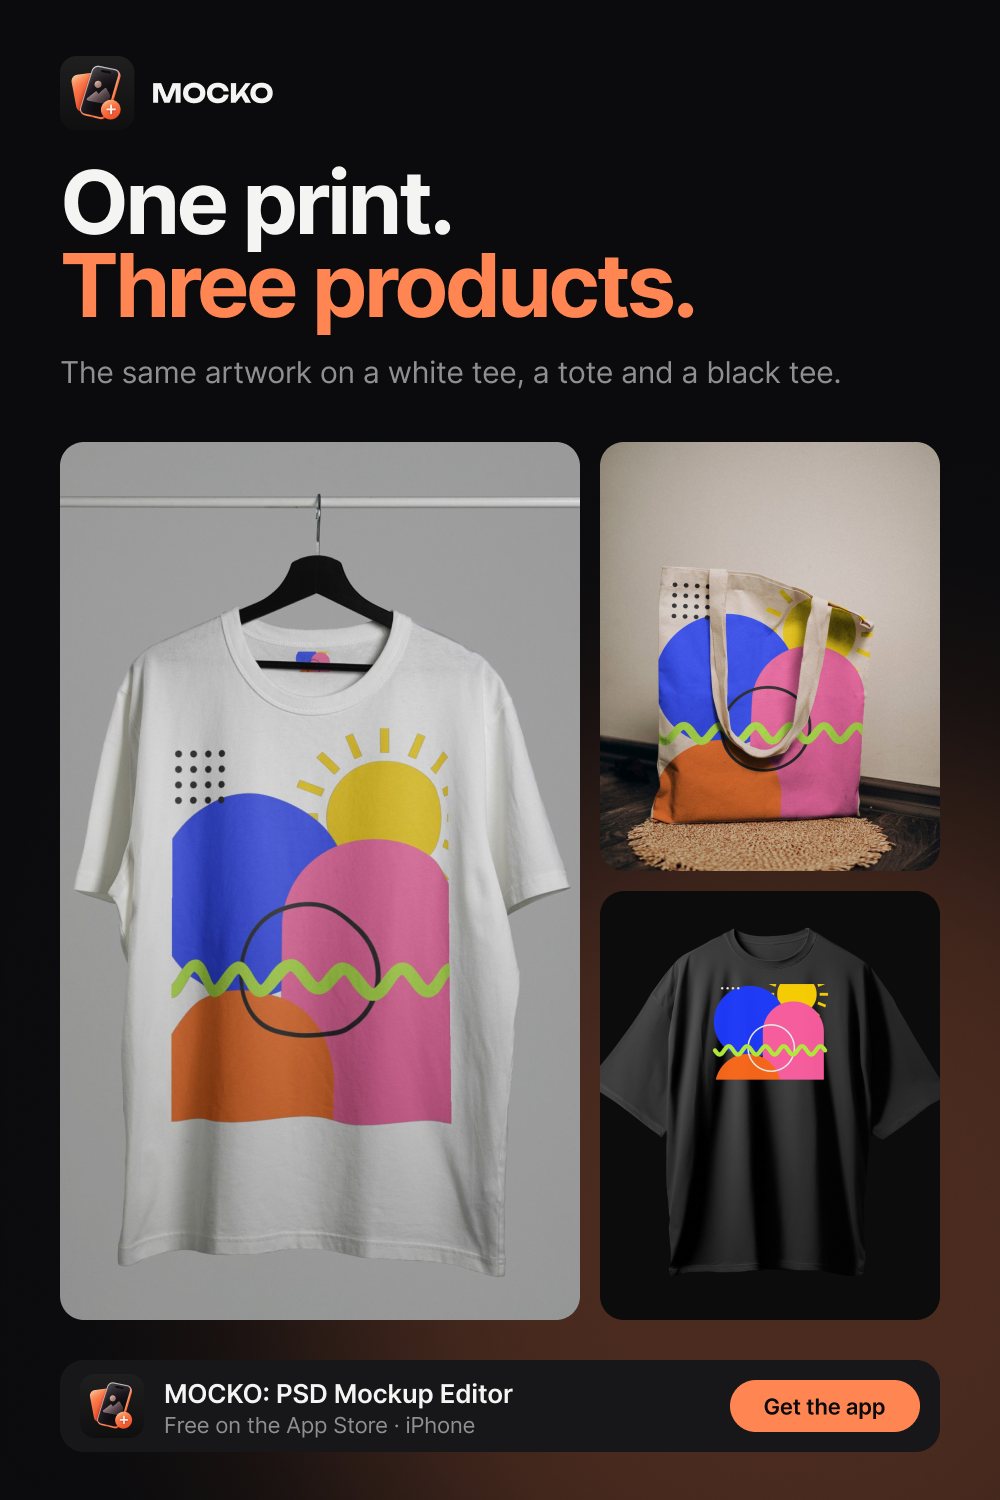
- Easy variations. Show every color or every product type from one design without reshooting.
- Low cost. One mockup can produce photos for dozens of products.
The photos every listing needs
Most marketplaces let you upload several images per product. A strong set usually includes:
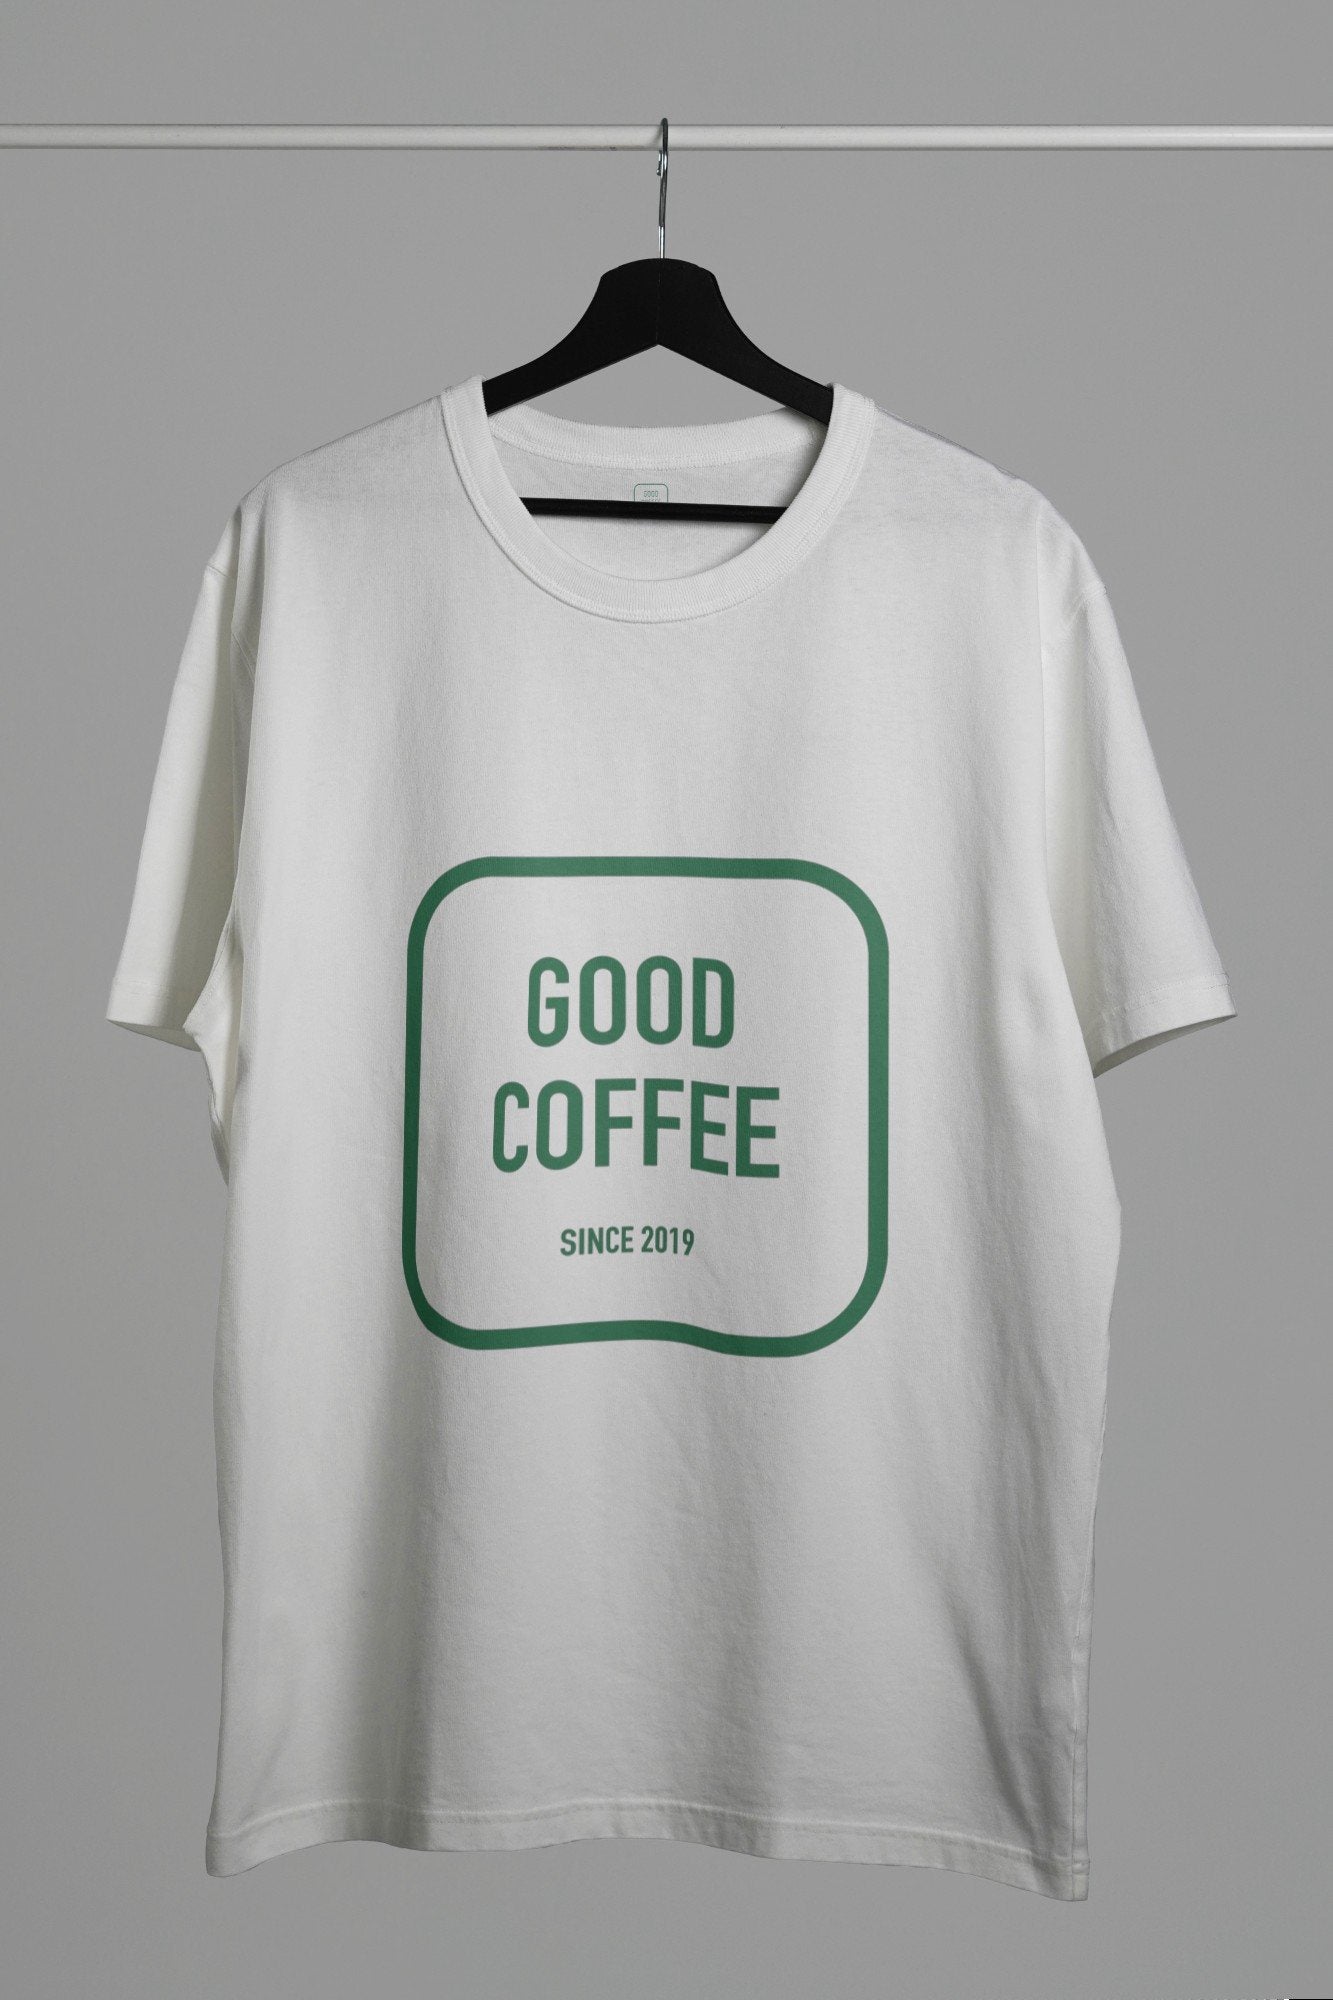
- A clean main image. The product on a neutral background or hanger, fully visible. This is the thumbnail shoppers see in search.
- A close-up. The print up close, so people can see detail and quality.
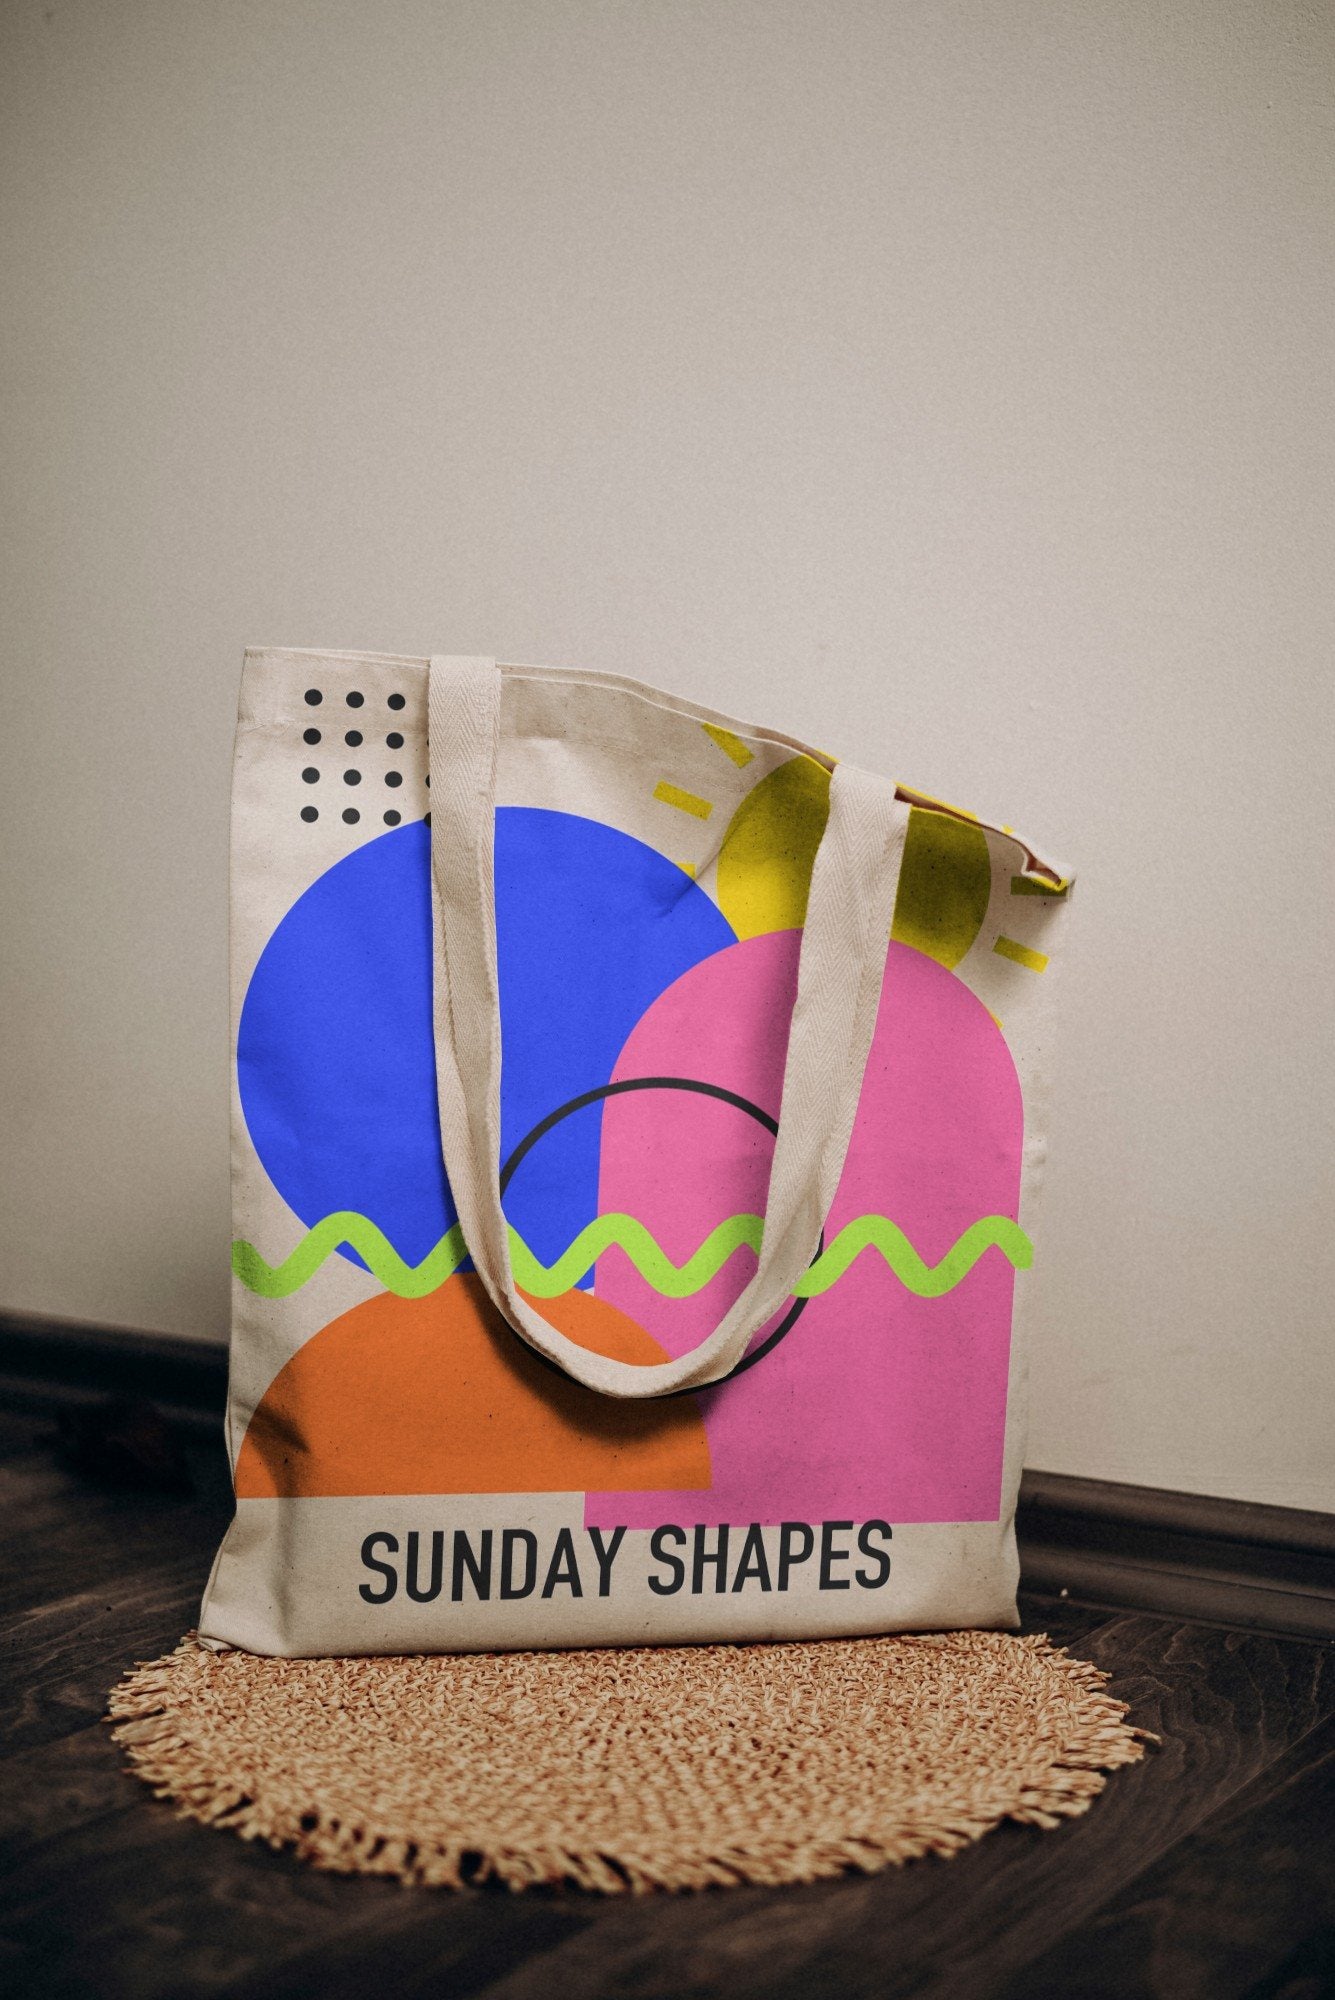
- A lifestyle shot. The product in use or in a real setting, to help shoppers picture owning it.
- Color or product variants. The same design on other colors or other items.
- A size or detail image. Dimensions, material or care info, if relevant.
How to make product photos from mockups
1. Pick a small set of scenes
Choose three or four mockups that share a style: similar light, similar background tones. Our apparel and full mockup collection include hanging, flat lay and lifestyle scenes for tees, hoodies, bags and packaging.
2. Prepare your design files
Export each design as a high-resolution PNG with a transparent background. If you sell the same design on light and dark products, keep a light and a dark version.
3. Place your design
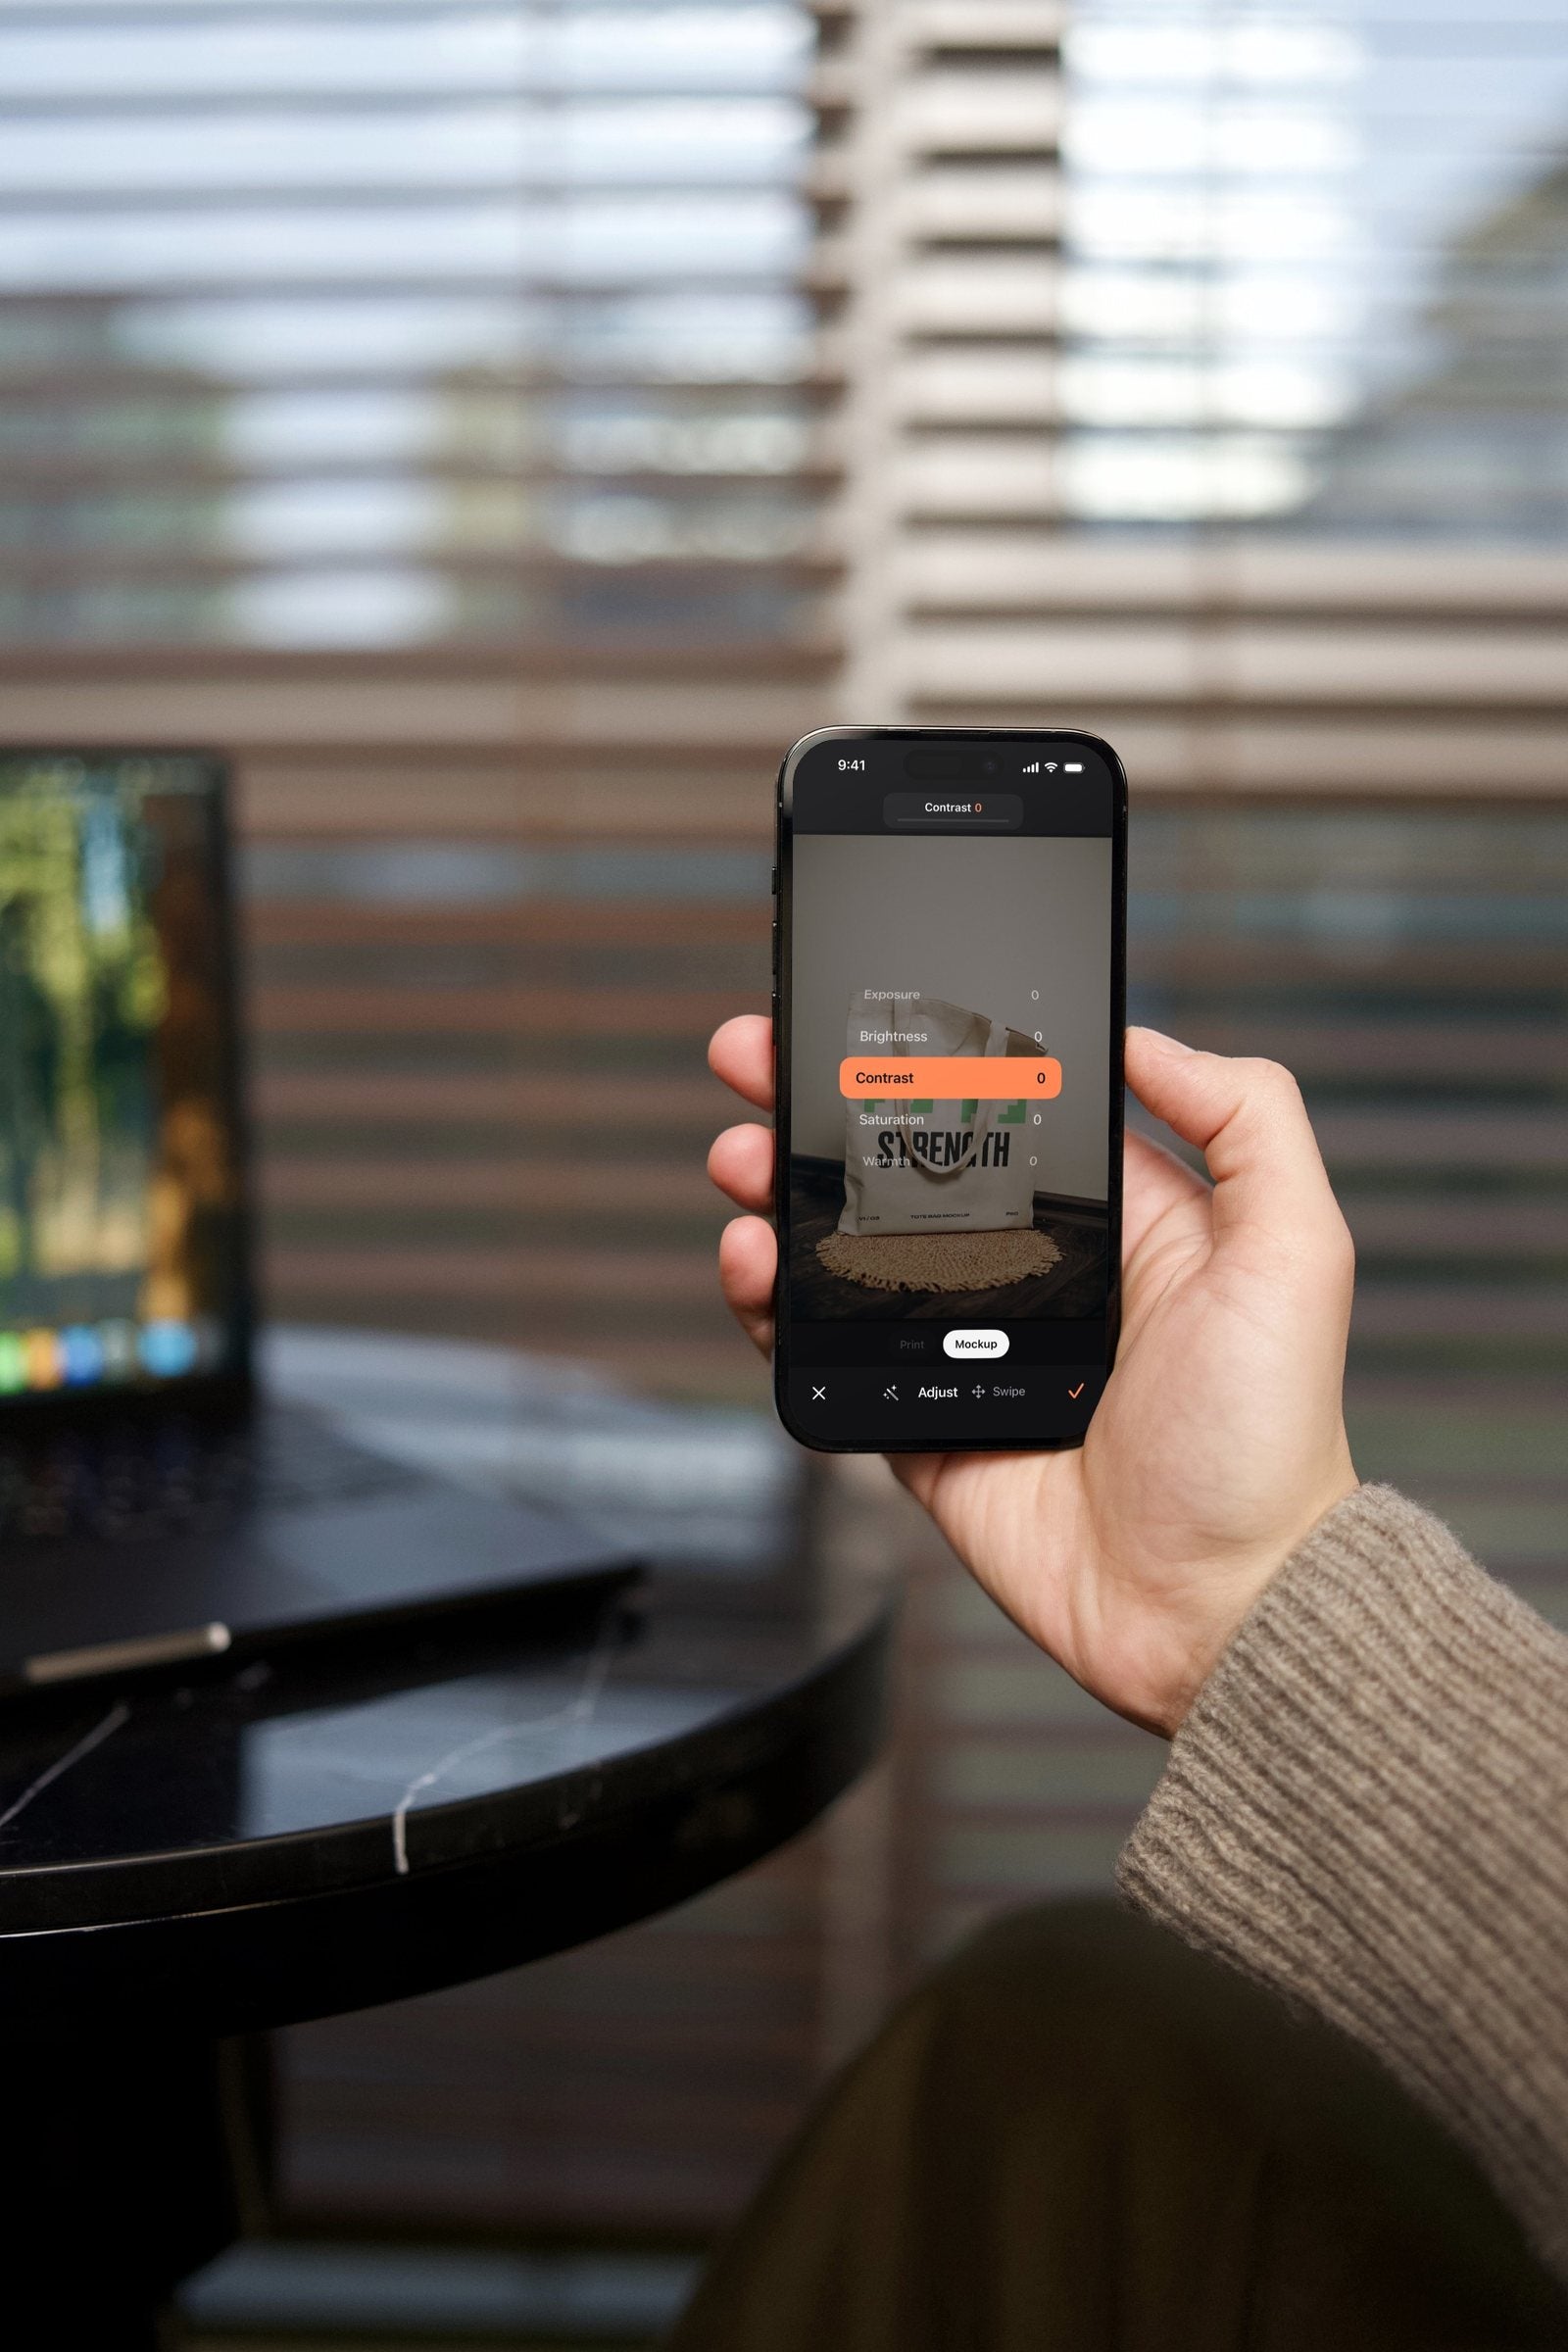
Open each mockup, replace the smart object with your design and export. In Photoshop that's a few clicks per scene. With MOCKO on iPhone, you open the PSD, tap the smart object, choose your design and place it with your fingers, which is handy when you're batch-producing photos for a new drop away from your desk.
4. Match the colors
Mockups should show the product as it will actually arrive. Use color controls to match the real fabric or packaging color, and adjust brightness and warmth so all your photos feel like one set.
5. Export at the right size
Export large enough for zoom: a 4K export leaves room for marketplaces that let shoppers zoom in, while a smaller web size is faster for social posts and ads. Save in JPEG for photos with a background, PNG when you need transparency.
Keep your photos honest
Mockups are a presentation tool, and buyers expect the product they receive to match the photos. A few rules keep you on the right side of that:
- Match the real product. Use mockups of the same item type, cut and color as what you ship.
- Size prints realistically. If your printer can only print 30 cm wide, don't show a print that covers the whole shirt.
- Check your marketplace's rules. Some marketplaces have specific requirements about mockups, digital renders or showing the actual item. Read the photo guidelines before you upload.
- Check the mockup license. Make sure the license covers commercial use for product listings.
- Add a real photo when you can. Once a product sells well, a photo of the real item alongside your mockups builds even more trust.
Build a consistent shop look
- Use the same main-image scene for every product of one type, so your shop page looks tidy in grid view.
- Keep a fixed order for listing photos: main, close-up, lifestyle, variants.
- Reuse your scenes for social media. The same mockups make good posts, stories and ads, and they tie your feed to your shop.
- Save your projects. MOCKO keeps each mockup project on your iPhone, so next season you can swap in a new design and keep the same scene.
FAQ
Can I use mockups instead of real product photos?
For many print-on-demand and made-to-order products, mockups are the standard way to show items before they're produced. Check your marketplace's photo rules, keep mockups true to the real product and add real photos when you have them.
What image size should I upload?
Each marketplace publishes its own recommended size. Exporting large, for example in 4K, gives you room to crop and resize for any of them.
How many photos should a listing have?
Use as many slots as your marketplace allows, as long as each image adds something: a new angle, a detail, a color or a use case.
Do I need Photoshop?
No. MOCKO opens PSD mockups on iPhone and exports finished photos. See how to make a T-shirt mockup without Photoshop for a full walkthrough.
Next steps
Start with one product and build a complete photo set using the list above. When it works, turn it into your template for every new design. Need scenes? Browse all our PSD mockups, or see four examples of how different businesses use mockups.
Keep reading

Four People, One App: Who Uses Mockups
Four illustrative examples, from an online T-shirt seller to a coffee shop owner, showing how different small businesses can use mockups to show a...

How to Make a T-Shirt Mockup Without Photoshop
A step-by-step guide to putting your print on a realistic T-shirt mockup using only your iPhone, plus tips for mockups that look like real...

How to Open PSD Files on iPhone
Why PSD files are hard to open on a phone, and how to open PSD and PSB mockups on iPhone with MOCKO, replace the...